CRI WEST MIDLANDS
  • HOME
  • CRI WEST MIDLANDS - ABOUT
  • CONSERVATORY ROOF INSULATION
  • TILED CONSERVATORY ROOFS
  • OUR WORK
    • TILED CONSERVATORY ROOF & OTHER WORK
    • UPVC CLADDED CEILING
    • GALLERY
    • TESTIMONIALS
  • CONTACT

A CONSERVATORY REFURBISHMENT RECENTLY CARRIED OUT.
​THE PROJECT WAS PHOTOGRAPHED AT EVERY STAGE, GIVING AN INSIGHT TO THE WORK INVOLVED.

STAGE ONE

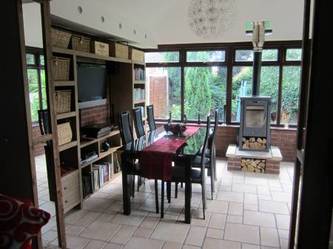
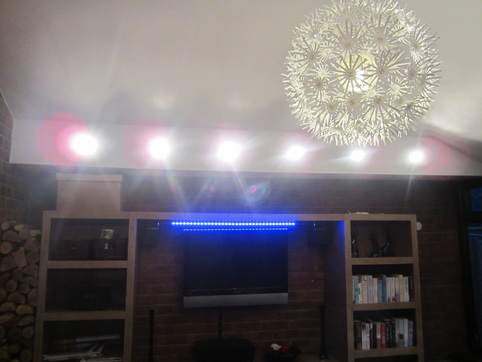
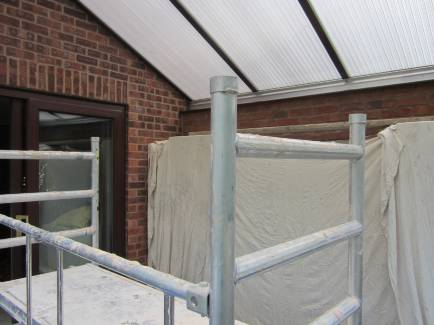
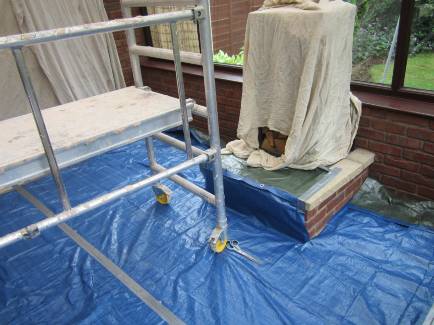
Before work begins the floor is completely covered over and the built in wall units and log burner dust sheeted.
Picture
Picture

STAGE TWO

Holes drilled around the perimeter of the roof for ventilation eliminating the possibility of damp and condensation.
Picture

STAGE THREE

Primary battens fitted.
Picture

STAGE FOUR

Insulation being installed.
Picture
Picture

STAGE FIVE

Secondary battens installed ready for plaster boarding​.
Picture

STAGE SIX

Flue for log burner neatly battened with adequate clearance and plaster boarded.
Picture
Picture

STAGE SEVEN

Once fully boarded, plastering begins.
Picture
Picture

STAGE EIGHT

The  job finished, ceiling and boxing painted with lighting added. Picture on left was taken before removal of patio doors and the difference shown on the right is remarkable.
Picture
Picture

STAGE NINE

The room is now used everyday.....and night.
Picture
Picture
CONTACT US to see how we can help transform your conservatory

CRI WEST MIDLANDS

HOME
ABOUT
CONSERVATORY ROOF INSULATION
TILED CONSERVATORY ROOFS
CONTACT
​PRIVACY POLICY

PROCESS

CONSERVATORY ROOF INSULATION
​TILED CONSERVATORY ROOFS
​UPVC CONSERVATORY CEILING

OUR WORK

GALLERY
TESTIMONIALS

CONTACT

Tel: 07941 042047
 [email protected]
CUSTOMER FEEDBACK
LOGIN
Website by RARE MEDIA
  • HOME
  • CRI WEST MIDLANDS - ABOUT
  • CONSERVATORY ROOF INSULATION
  • TILED CONSERVATORY ROOFS
  • OUR WORK
    • TILED CONSERVATORY ROOF & OTHER WORK
    • UPVC CLADDED CEILING
    • GALLERY
    • TESTIMONIALS
  • CONTACT